What is a Test Plan?
Think of a test plan as a roadmap to your testing project. It is a thorough guide that entails descriptions of the various stages of your testing process—including objectives, scope of testing, test strategy, test methodology, resources, entry and exit criteria, to name a few.
Why is it important?
Having a test plan document for your project can benefit you in several ways.
It gives direction to your project, and you don’t have to scramble around to gather relevant information halfway through if you already have a test plan at hand.
It clearly defines the roles and responsibilities of different team members involved in the project, so you wouldn’t have to worry about being allotted new, unanticipated duties in the middle of your project which you know do not fall under your role.
It helps keep track of your progress, through a well-developed schedule that everyone is to follow.
We can go on and on about the multiple benefits of this ever-helpful document, but hopefully you get the picture.
Let us proceed to the next stage.
How to build and implement your testing activity
Putting together and carrying out a testing project is no small feat. It is a detailed, step-by-step process and each stage needs to be addressed carefully.
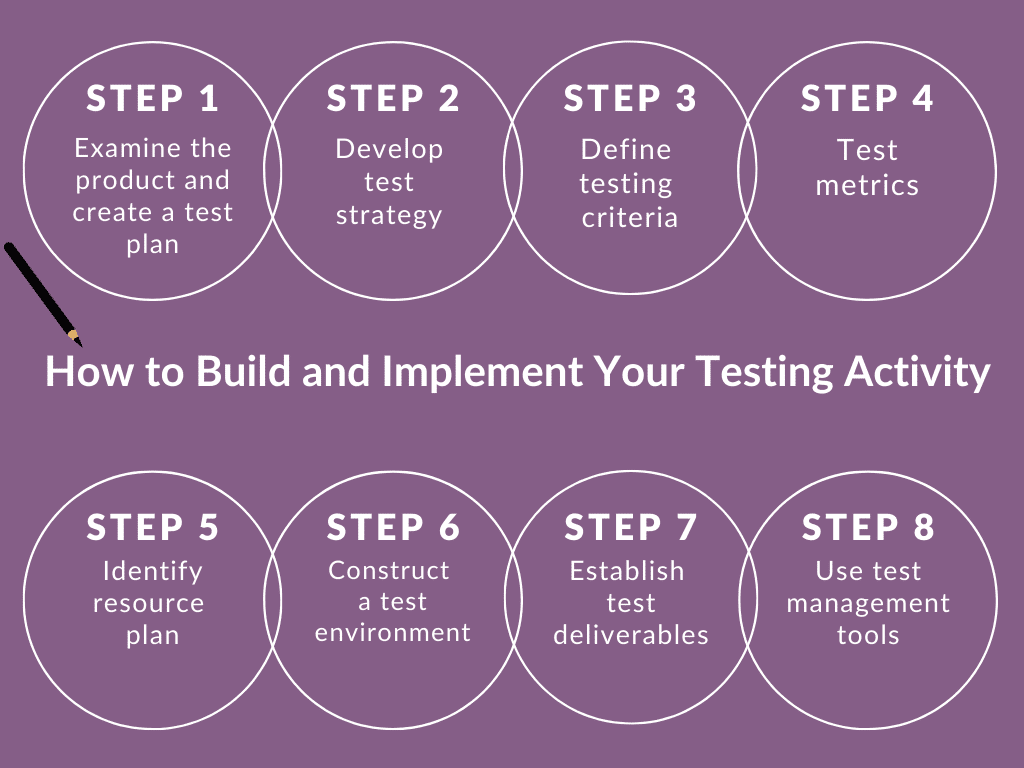
Step 1: Examine the product and create a Test Plan
Before you proceed with your testing activity, the first and foremost thing you need to do is to really know your product inside-out. Understand it from different perspectives and angles—in terms of its purpose, target audience, design, function, usability, and so on.
Thoroughly go all through the requirements and business documents that your client has shared with you. Clear out all your questions and ambiguities with them. Make sure you have a complete know-how of what they are really looking for.
Once this has been done, then you can start developing your test project and penning everything down. Don’t worry, we’ll guide you through the process.
Step 2: Develop Test Strategy
A test strategy gives insight into the testing process. Two very important aspects of this are defining the scope of testing, and using different test methodologies.
2.1. Scope of Testing
One of the earliest things you need to do is to define your scope of testing; this includes categorizing items that will be tested, and those that will not be tested. Of course, it is not even possible (or advisable) to test every single thing or feature, which is why you have to rationally decide what you will be testing and what you will be leaving out. In addition to filtering out aspects that you want to test, also give a justification behind why you want to test it, so that your client and other stakeholders are clear on the rationale behind testing this feature. You should conform to best industry practices and standards while making these decisions. Also include what software or devices you will be testing on (coverage); and what type of testing you will be performing, and why.
2.2. Using Different Methodologies
Identify the testing methodologies you have adopted. Explain why you have chosen those and why they are the best fit for your project.
Testing types can be either functional or non-functional.
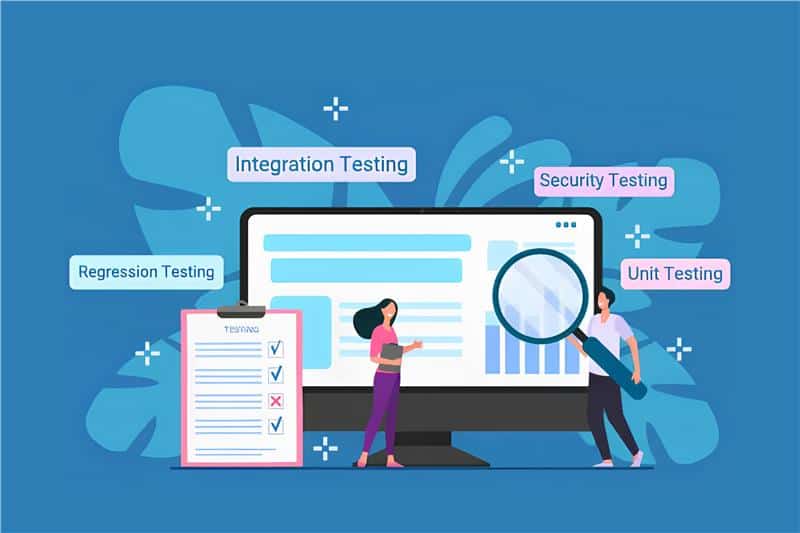
Functional tests are based on functions and features, and their integration with specific systems. Functional testing types include: unit testing, smoke testing, integration testing, system testing, regression testing, amongst others.
Non-functional tests a system for its quality and measures the characteristics of a system that can be quantified on a varying scale. Non-functional testing types are inclusive of scalability testing, recovery testing, mutation testing, conformance testing etc.
Step 3: Define Test Criteria
3.1. Entry and Exit Criteria
The Software Testing Lifecycle encompasses the entry and exit criteria.
Entry Criteria
The Entry Criteria for STLC phases refers to those metrics that need to be fulfilled in order to proceed to a new phase. These set of conditions are important as they enable the relevant task to be performed—something that wouldn’t be possible if the condition doesn’t exist. The entry criteria also includes the time-frame during which the entry criteria item will be available to begin the process.
Exit Criteria
The Exit Criteria for STLC phases refer to the criteria that determines that a phase has been concluded before the next one can begin. It, thus, verifies that a process or set of processes have been finished and comply with the set expectations.
3.2. Pass/Fail Criteria
When describing test processes, you should be including all the steps. These should mention the requirements of each step, as well as the condition required to carry out or conclude the next step, and the anticipated consequences. This expected consequence or response is the pass/fail criteria for that step. The test step is regarded as ‘passed’ if it was carried out and the anticipated response was observed and verified. On the other hand, if the step was not carried out, or was carried out and the expected response did not unfold or could not be verified, then the test step is regarded as ‘failed’.
3.3. No. of Cycles
A testing cycle is a time period which defines when a project is to started and concluded. It also encompasses a list of manual testers who will be working on the project. The number of cycles varies from project to project, depending on factors like: duration of the sprint (in the case of agile), number of testers involved in that sprint, expertise of the testing team and developers, and so on.
Let us give you a brief overview of how this cycle works. When a new feature is launched, a regular QA cycle is conducted. This locates the defects that are found, which are then fixed. Then a second cycle is conducted, to check if the development team has fixed the defects (verification cycle). Then, there is a feature-wide test as a final check before rolling out the feature upon production. There are also regression cycles, periodically, to check for any unforeseen ripples.
3.4. Defining Test Data
Test Data is the input fed into to a software program. This is done during test execution, and concerns data that is part of software execution during testing.
In positive testing, test data is used to confirm that functions are corroborating with the anticipated responses for the inputs that have been fed into it. In negative testing, test data is used to determine if the software can manage to deal with unfamiliar cases of input.
Step 4: Test Metrics
Test Metrics can be considered as a set of KPI’s to take note of during testing. They are regarded as a tool of measurement that gauge the testing based on various factors, like quality, value, progress, efficiency etc. This, in turn, helps pinpoint areas that can be improved or worked on further, thus assisting towards more efficient testing. It also develops a solid set of data derived from the testing process, which helps evaluate future processes in terms of how they can be carried out better.
Step 5: Identify Resource Plan
5.1. Technical Resources
In this section, you have to mention all the technical resources, including system resources, that you need for the project. These include computing tools (software and hardware), test management tools, other testing tools and technical expertise required for the project.
5.2. Human Resources
It is essential to delegate roles and responsibilities for your testing team, in terms of who will be carrying out what activity. This helps define the roles for each team, which thus provides clarity, also leading to less possibility of conflict later on as everyone will be aware of what they have to do. The primary need for planning human resources is to assess how many people do you need to get the job done; it also helps you budget the project.
Step 6: Construct a Test Environment
Developing a test environment will help you run your test cases. You need both hardware and software configurations to enable this set-up. The advantage of constructing a test environment is that it will help you build the exact same environment every time you have to test your product—this ensures both accuracy and quality of the product being tested, in the presence of the relevant setup. This is also a critical tool to determine that the application is running the exact same way in the test environment as it will in the actual, or production, environment.
Step 7: Test Deliverables
These deliverables are an in-depth collection of test artifacts (particularly documents) that are made available to a software tester, or other stakeholders, during the Software Development Lifecycle. The deliverables are broken up into different phases; some are provided before the onset of the testing cycle, some are provided during it, and some after it.

Step 8: Test Management Tools
Modern, agile testing is more about fast paced collaboration in short sprints. Lengthy documents that store your test plans and strategies are becoming a thing of the past. This is where a good test management comes in handy. Test management tools help you keep test plans associated with your requirements in a granular level. So, instead of one lengthy document that quickly gets outdated, you have mini test plans associated with your requirements and everyone stays in the loop of the changes along the way.
There are many test management tools you can use to ease your testing process. If you are looking for something that will make your testing fun and simple, while offering some fantastic features—try Kualitee.
The above steps will prove highly useful if you desire to kickoff and manage your testing process with both ease and efficiency.
Moreover, Kualitee has its own comprehensive test plan template–with which you can plan your testing project from start to end. If you want to ace your testing game (and you know you do!), then be sure to download our template below, for free!