

Test Cases
The test case contains a summary, test steps, precondition, postcondition developed for a specific test scenario to verify any requirement. Multiple test cases can be associated with test scenarios and requirements for any build and module.
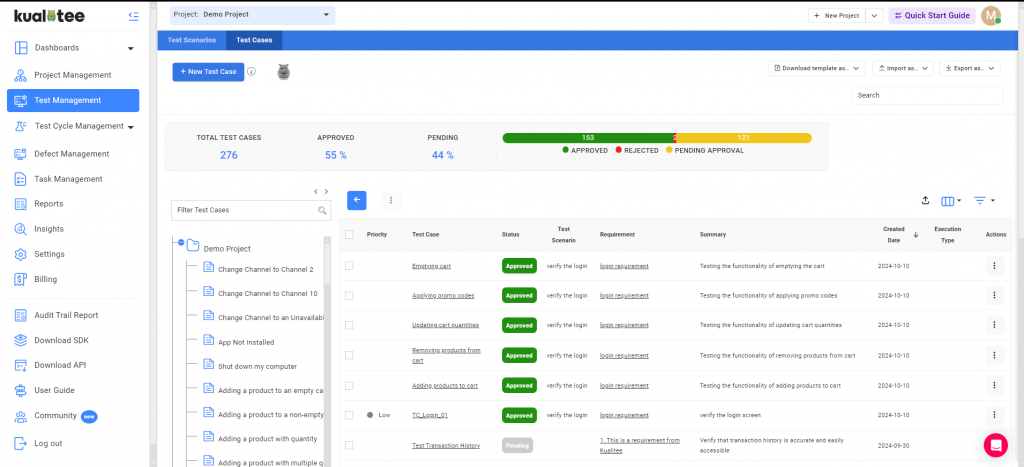
Creating a test case
- Ensure that a Project has been selected from the ‘Select Project’ drop-down on top bar
- To create a new Test Case select the ‘Test Case’ tab from within the Test Management tab
- Click on the “Create Test Case” button
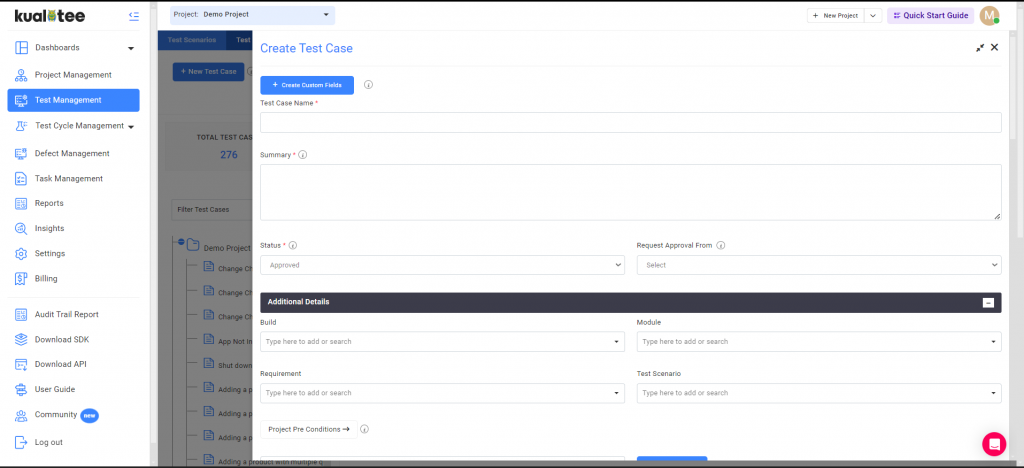
While creating a test case, Test case ID and Summary are compulsory fields. While others are optional fields.
Kualitee by default has different roles with a specific set of permission. If you are a tester creating test cases, you will need to get them approved before moving them forward for execution. By default, your domain admin, test manager has the permission to approve test cases. You can ask for approval with each created test case or in bulk when importing them.
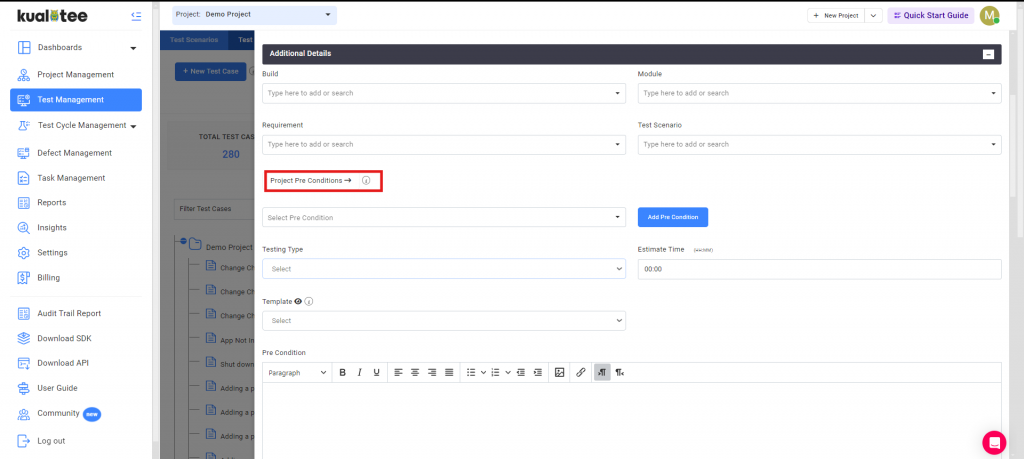
Project Pre-conditions
User can define generic preconditions that can be reused while creating/editing a test case. User will not have to rewrite preconditions each time for each test case, if this is generically same for all the test cases.
Steps to create generic pre-conditions:
Go to test case create/edit screen.
Click on the additional detail section.
Click on the project pre-condition button.
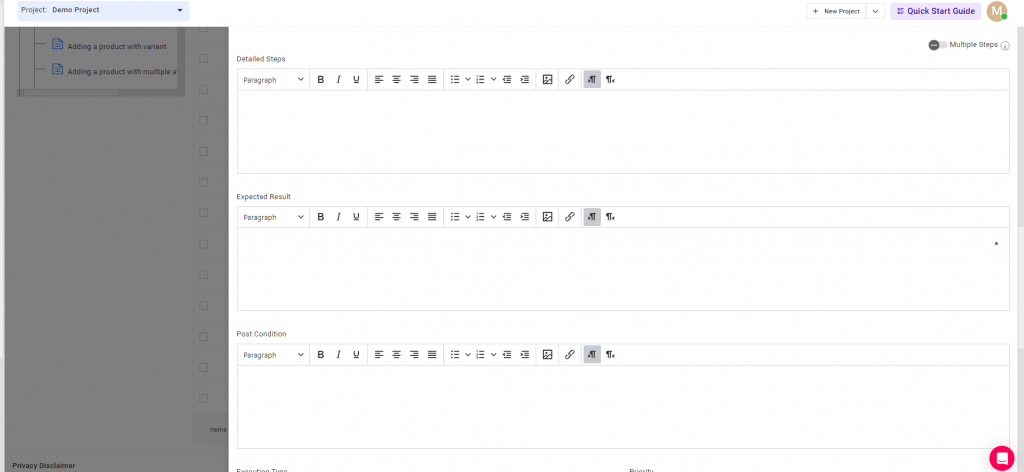
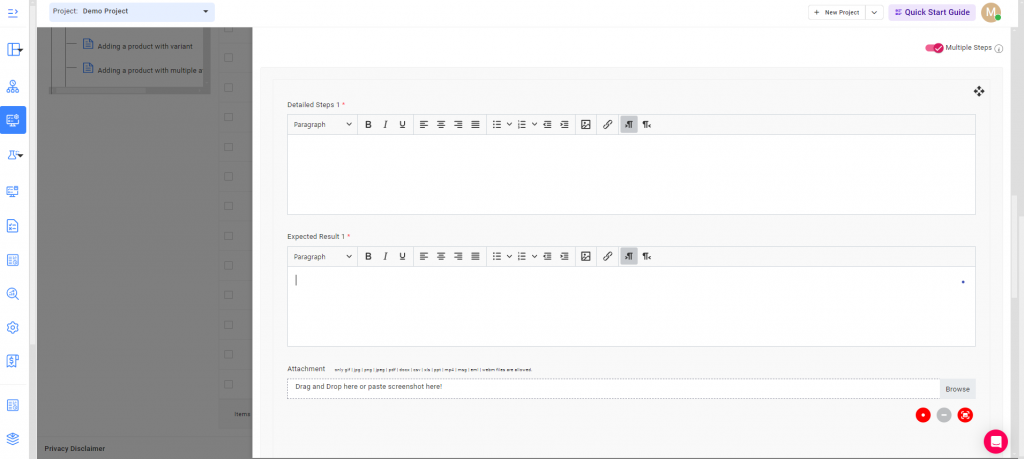
Test case steps
Now make your test cases more granular by breaking down detailed steps into smaller yet precise actions with well-defined expected results and attachments.
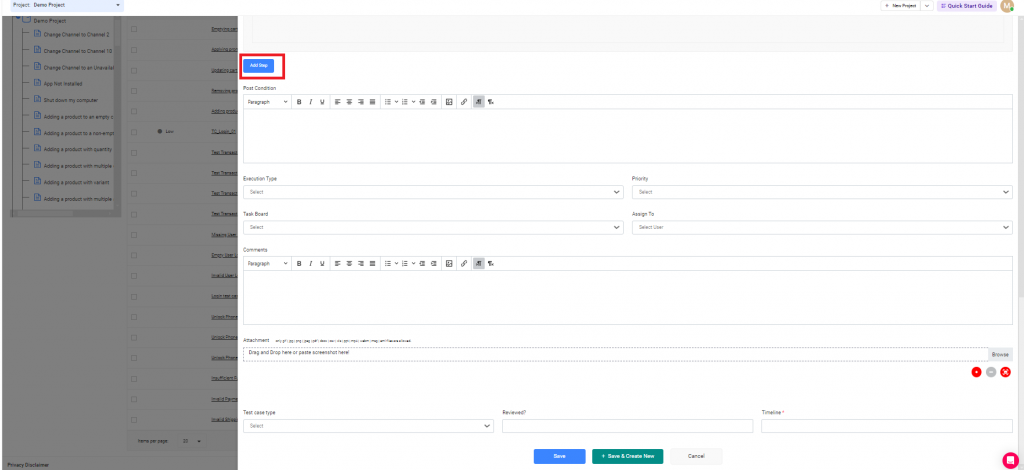
Add more test case steps while updating test cases
You can add more steps while updating the test case, according to the steps below.
Step 1: Click on Add Step
Step 2: Add the Steps Detail and Expected Result
Step 3: Click on Create Button for Adding More Steps
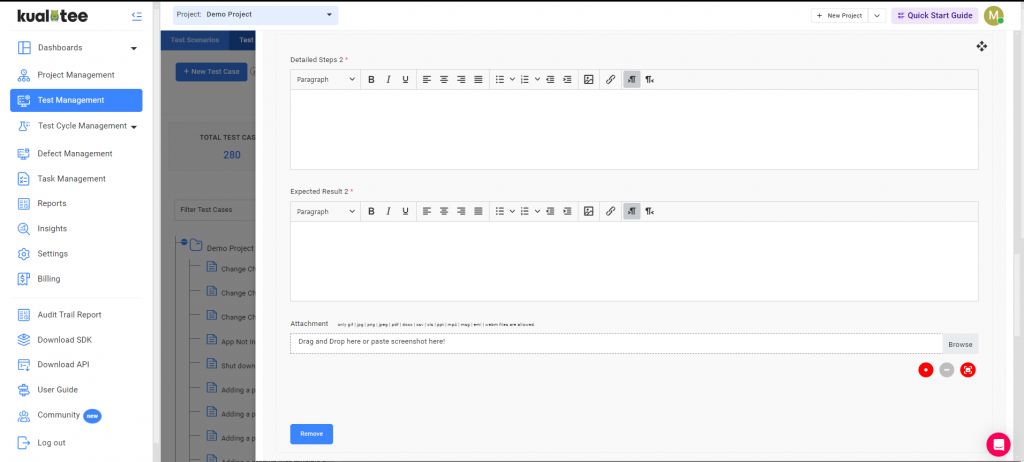
You can also sort out your test cases steps.
Add Step details
Import and Export of Test Case
Additionally, you can also import your already created test cases, you can either upload your own copy and map the fields according to Kualitee fields using the in-app mapping wizard or you can download the template and use that to upload your list of test cases.

You can export your data in three different formats CSV, Excel, and Word. Click on any of the icons will get your file ready for export and prompt you when it’s ready for download.
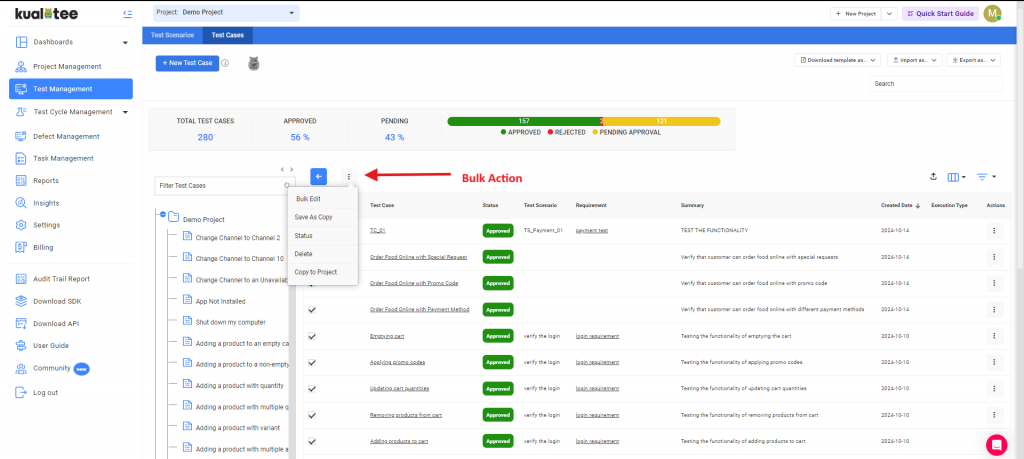
Bulk Action
- Save as copy: You can save a copy of your selected test cases, in the same project.
- Save as template: You can save a test case template, so you don’t have to create a new one when making the same kind of test case again.
- Status: You can assign a status to your selected test cases as Approved/Rejected.
- Delete: You can delete your selected test cases in bulk.
- Copy to project: You can copy your test cases to another project as well. (Note: No associations will be copied, only the test cases will be copied).
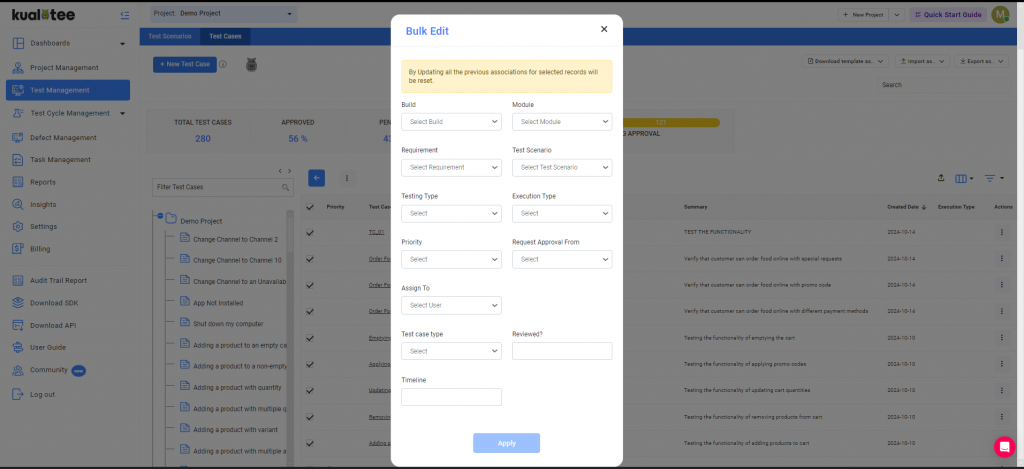
Bulk Edit
You can use the bulk edit option to change associations between data e.g build, module, requirements and test scenarios associated with your test cases can be changed using the bulk edit option for selected or otherwise all of the items in the listing. Also, you can edit your custom created fields too from the “Bulk Edit” option.
Note: Associations once changed cannot be reverted back to an earlier state.
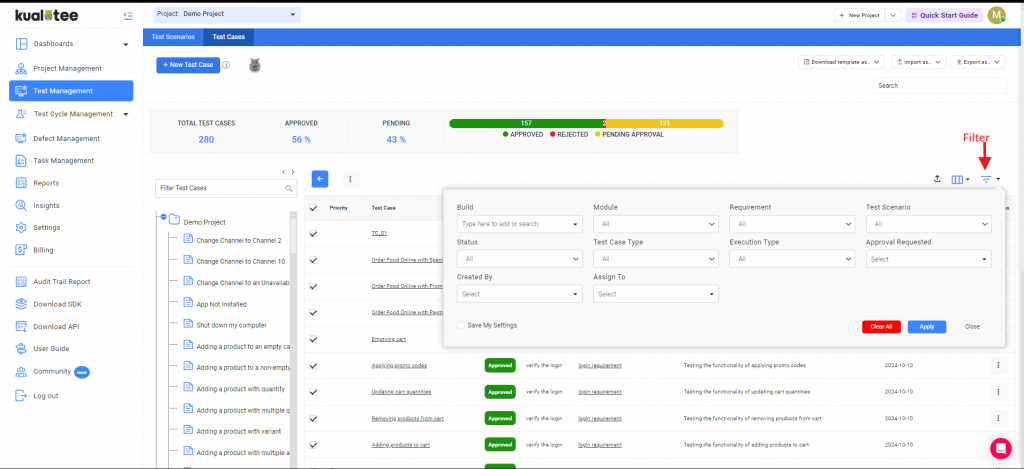
Filters
Multiple filter options are available in the Test Cases tab to filter the test cases according to your requirements.
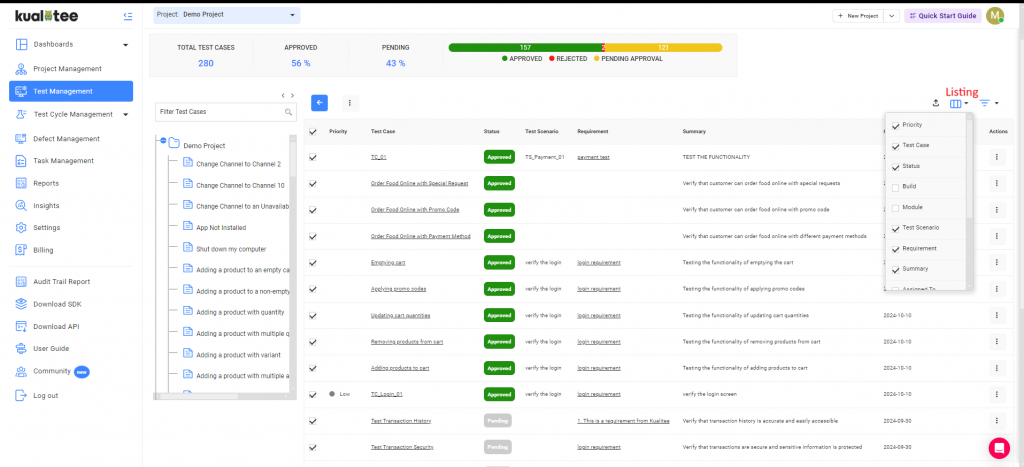
Customize Listing
You can now view your custom fields on your listing page from the custom listing option.
To add custom fields to your listing pages, follow the steps below:
- Click on the “Custom Listing” option.
- Select the fields you want to view on your listing page, and they will be displayed.
‘Save as Template’ option
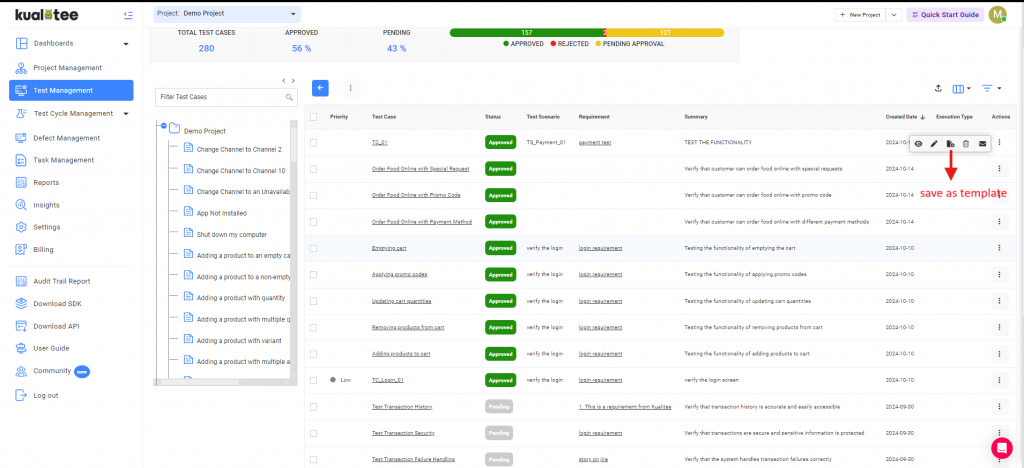
Once you’ve created your test case, you will also have the option to save it as template. You will be able to reuse the template for your future test cases.
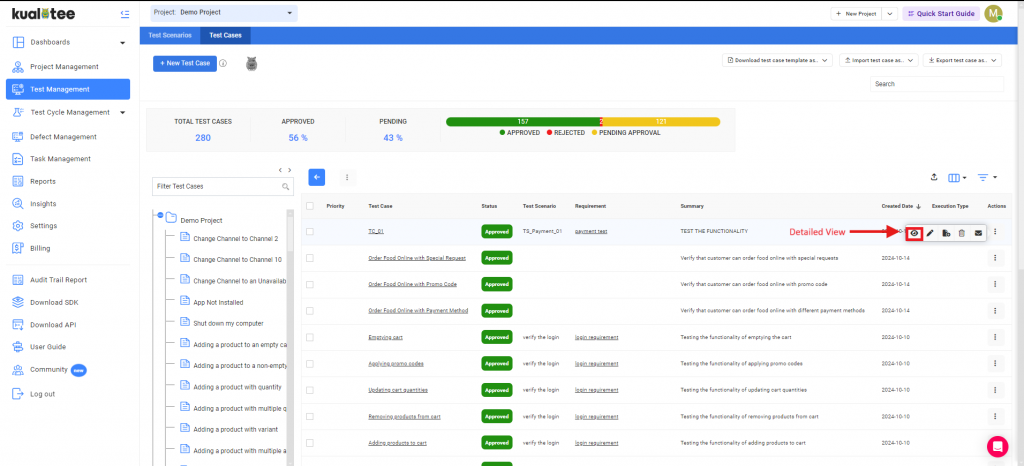
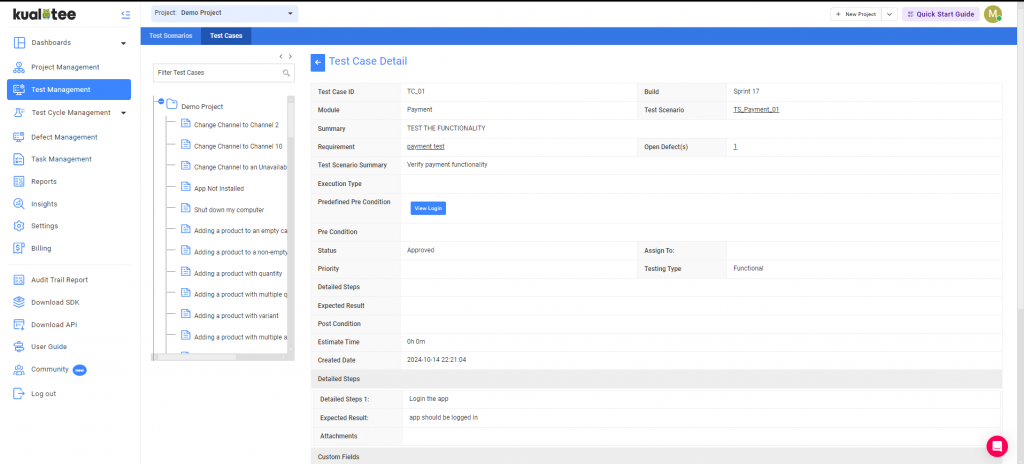
Overlay View
The Overlay view can be accessed when you review the specifics of your Test Cases. As you move your cursor over the action items in the corresponding column, a quick view icon will appear. Clicking on it will reveal the Overlay view, opening up to your saved details, attachments, and comments. You can also make edits directly from this section.
User Guide
-
Dashboard
-
Project Management
-
Test Management
-
Hootie
-
Test Lab
-
Defect Management
-
Task Management
-
Reports
-
Insights
-
Settings
-
Integrations
-
SAML Authentications
-
Test Case Repositories