

Projects
The project screen contains your active and archived projects.

Create Project
To create your project, you simply click on the ‘New Project’ button.
Not all testing projects are the same so you have the option to choose your project type and even customize the project type if required.
User can select the relvent browser, OS & devices in the additional details section.

Fill out the following text fields to create your project.
Creating a New Project
When creating a new project, only the Project Name field is mandatory. The other fields are optional but can be filled out for more detailed project information.
- Project Name: Enter the name of your project. (This is the only required field.)
- Project Type: Choose the appropriate project type from the drop-down list.
- Operating System: Select the operating system from the provided drop-down menu or type the name to create your own.
- Devices: Select the device from the provided drop-down menu or type the name to create your own.
- Browser: Select the browser from the provided drop-down menu or type in the name to create your own.
- Operating System Field: This field will now be enabled. You can write down any specific operating system if needed.
- Project Description: Provide a brief description of your project to offer more context.
- Cancel Option: If you click on the “Cancel” link, the project will not be created, and you will be redirected to the “Create New Project” page.
Once all the necessary details are entered, click on Create to save your project. A success message will confirm that your project has been saved successfully.
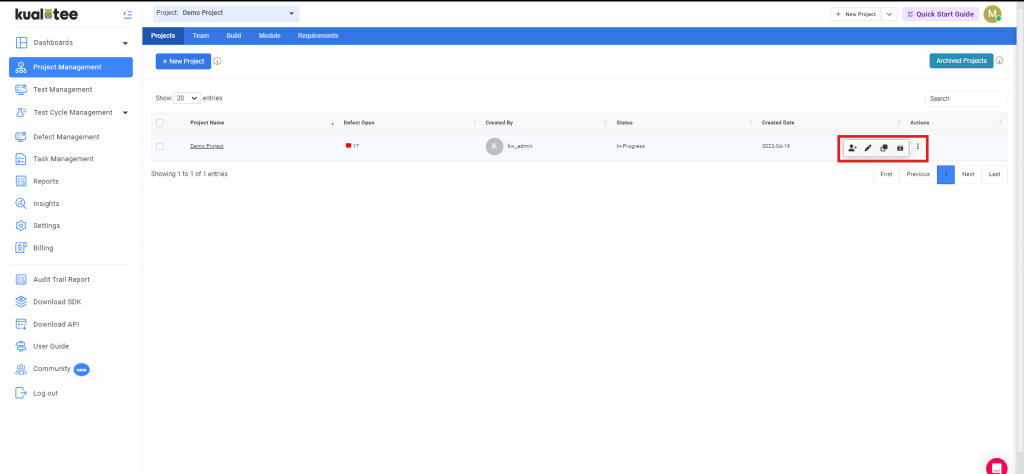
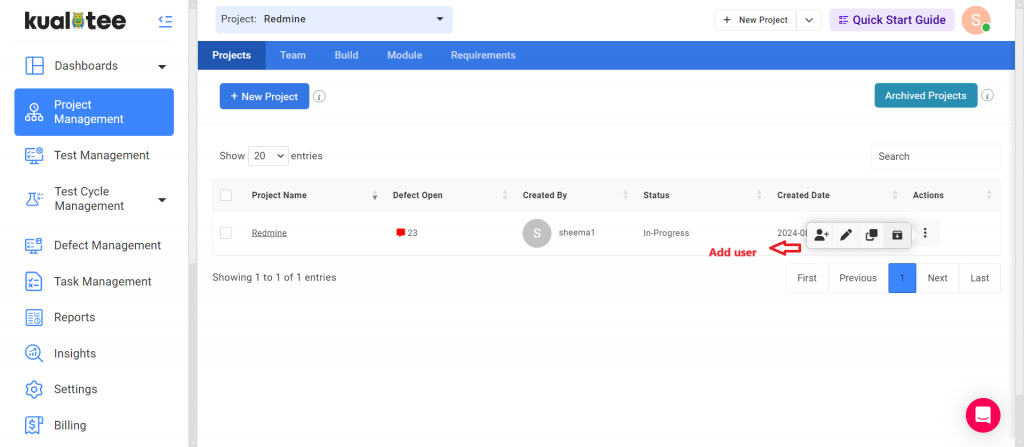
Action Button
To take action, click on the action button and you can take the following actions.
Edit and Archive Projects
To edit or archive your project, click on the action menu.
Copy Project
When you click on the ‘Copy Project’ option, it will create a replica of the project you have selected. This will include all the data from your existing project and save it as a newly created project. This data includes the build, modules, requirements, test scenarios, test cases, defects, and tasks, with all their associations.
How this feature will help you:
If you need the same data for another project, you can simply copy this project and save yourself the hassle of creating all the data again in a new place. All you have to do is copy the project, thus saving time and effort!
Follow these steps to Copy your existing project:
1. Go to the ‘Project Management’ tab. You will land on the ‘Projects’ page.
2. Click on the Actions button and then click on ‘Copy’ option.
3. Your project will be copied and will be available in the projects list.
‘Add Users’
In the Actions menu, click on the first icon (i.e. ‘Add Users’).
When you click on it, you will be navigated to the teams screen where the list of users available in the domain. You can select the users of your choice and add them in your project.
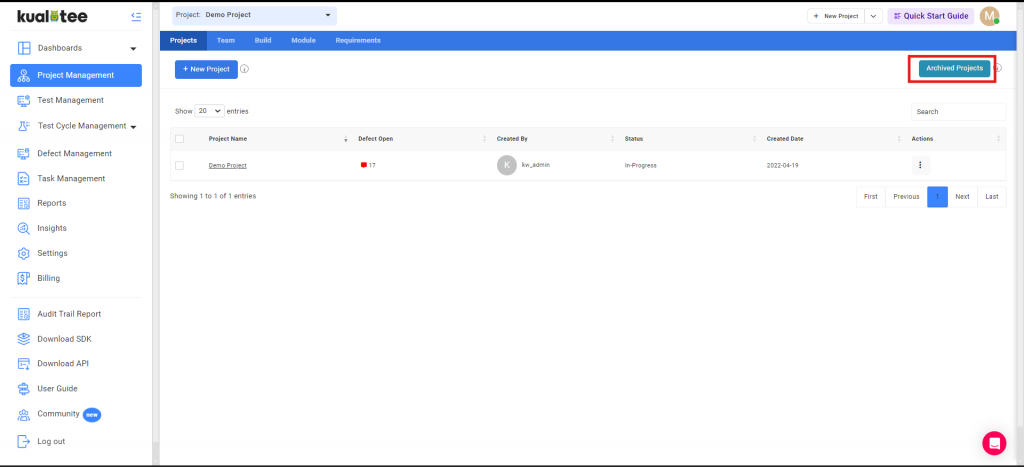
Archived Projects
When you click on ‘Archived Projects’, you will be able to view all your archived projects. You can either restore or permanently delete them.
User Guide
-
Dashboard
-
Project Management
-
Test Management
-
Hootie
-
Test Lab
-
Defect Management
-
Task Management
-
Reports
-
Insights
-
Settings
-
Integrations
-
SAML Authentications
-
Test Case Repositories