


Requirements
You can use requirements planning to associate your existing test scenarios and test cases with parent and sub-requirement.
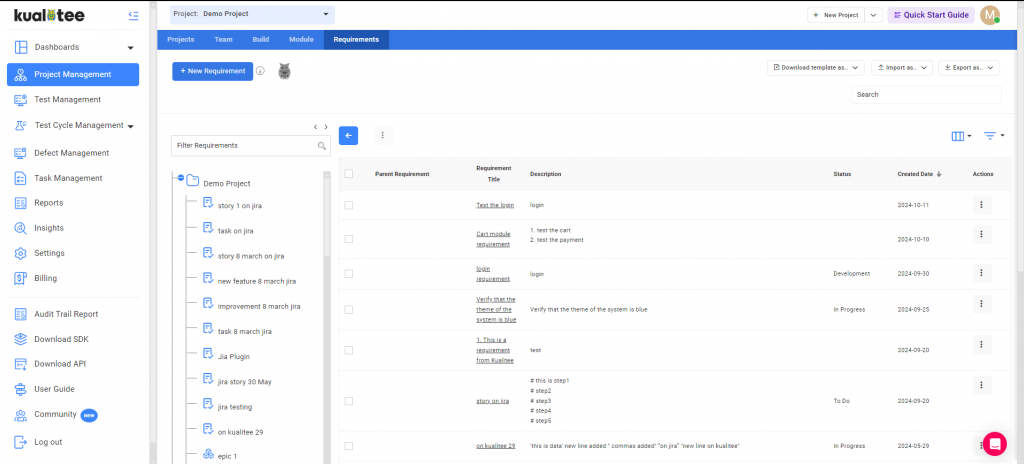
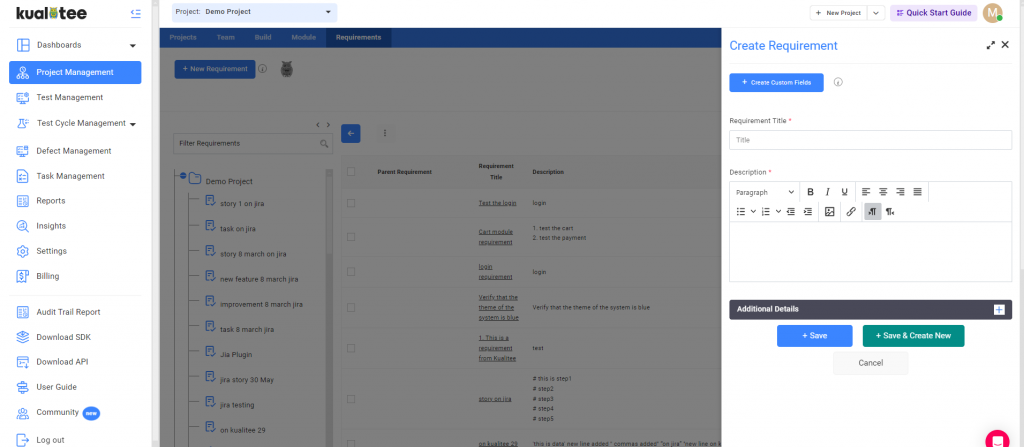
Creating Requirements & Sub-Requirements
To create requirements, you simply go to project management, select requirements, and click on create a requirement. Your first requirement is your parent requirement and you can assign sub-requirements by selecting the parent requirement from the drop-down. A parent requirement can have multiple sub-requirements and the user can also associate test scenarios and test cases with these sub-requirements.
Associating Test Scenarios and Test Cases
If you already have test scenarios and test cases in your project, you can associate them with your requirements, or you can edit your test cases in Test management and select the requirement from the drop-down field.

Import & Export Requirements
To import your already created requirements you can simply download the CSV template and enter all the relevant information including your test scenario and test cases if you want them to be associated with your requirements. This will automatically create all the entries and populate the information.
Note: Kindly make sure that all the fields are mapped properly to avoid any issues.

Action Buttons
Clicking on ‘Action’ will give you the options to ‘delete’ or ‘copy’ your requirement.
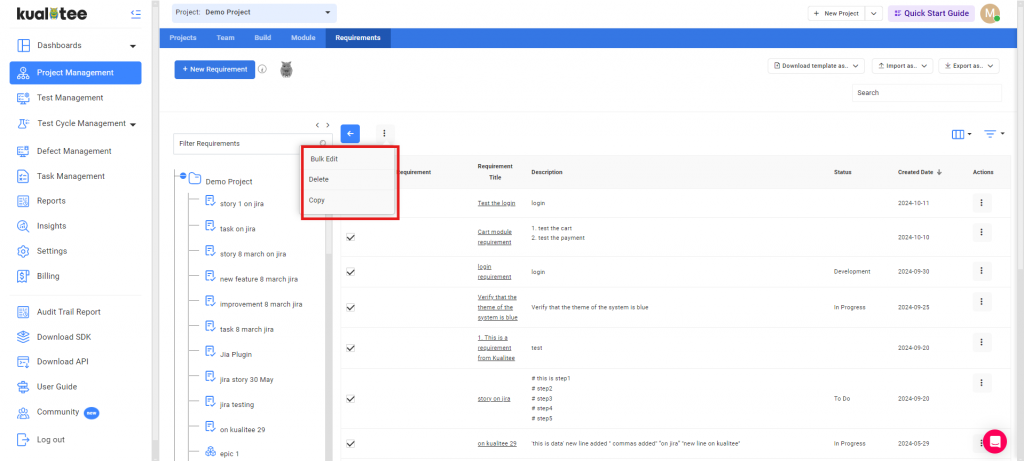
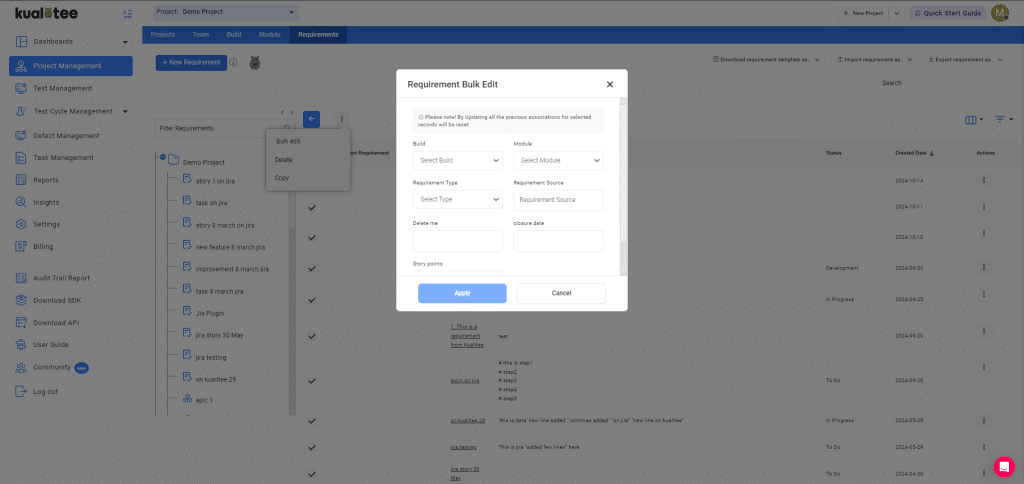
Bulk Edit
You can edit your requirements in bulk. When you tick the checkbox against your requirement, you will be able to see the “Bulk Edit” option. Click on it and a pop-up will appear. You will then be able to update the associations of your requirements in bulk also you can edit your custom created fields too from the “Bulk Edit” option.
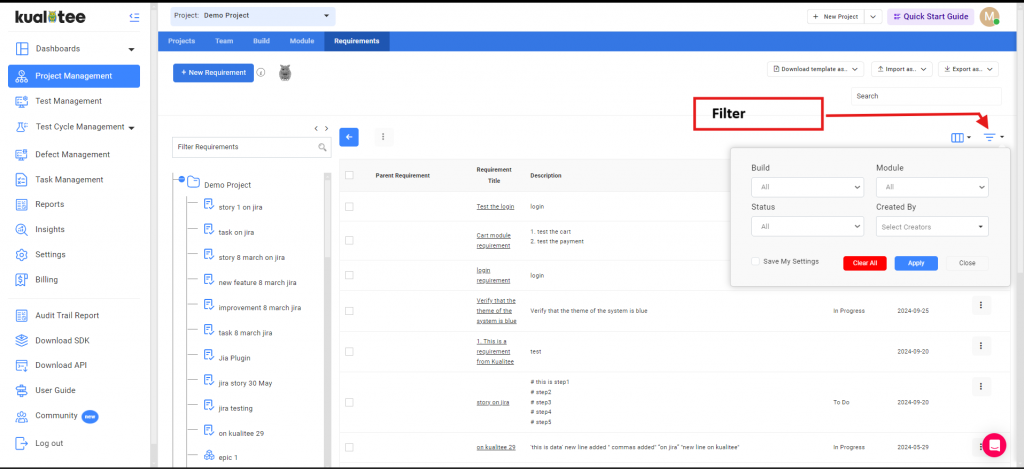
Filters
You can filter your requirements by the below-mentioned filters. You can also save your filters by ticking the ‘Save my Setting’ checkbox.
Customize Listing:
You can now view your custom fields in your listing pages from the custom listing option.
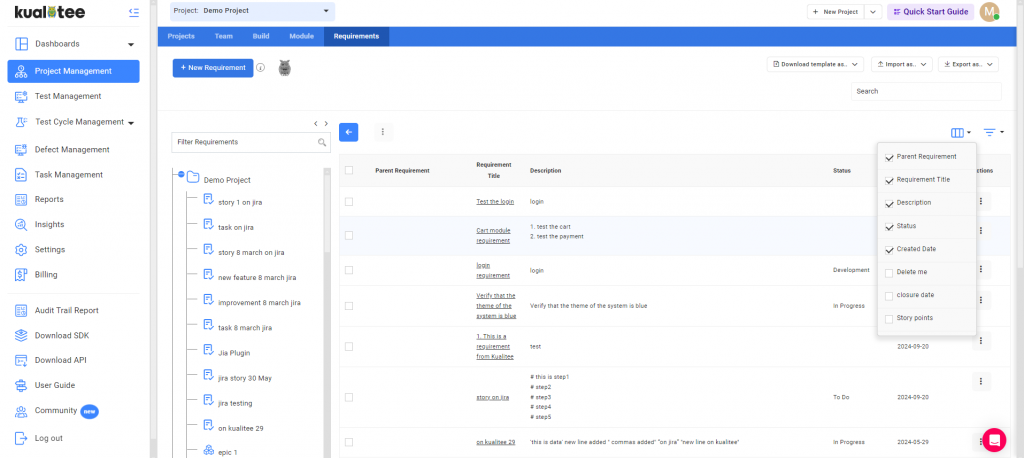
To add customize your listing pages, follow the steps below:
- Click on the “Custom Listing” option.
- Select the fields you want to view in your listing pages, and they will be displayed.
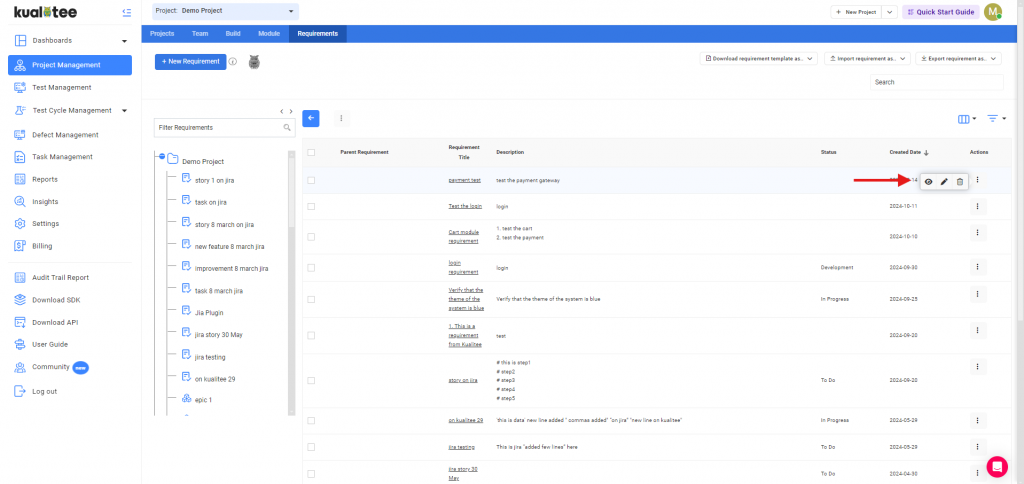
Overlay View
The Overlay view can be accessed when you review the specifics of your Requirements. As you move your cursor over the action items in the corresponding column, a quick view icon will appear. Clicking on it will reveal the Overlay view, opening up to your saved details, attachments, and comments. You can also make edits directly from this section.
User Guide
-
Dashboard
-
Project Management
-
Test Management
-
Hootie
-
Test Lab
-
Defect Management
-
Task Management
-
Reports
-
Insights
-
Settings
-
Integrations
-
SAML Authentications
-
Test Case Repositories